The 4-Step Belay - Better than 3
By Bela G. Vadasz
The art of belaying is the cornerstone of safe climbing-the security upon which a climber's skill hangs in the balance. It is commonly assumed that everyone understands the criteria for proper belaying but the history of climbing accidents indicates this is often a false assumption. Thus, it is worthwhile to review this most basic climbing procedure.
The currently accepted method for implementing a top roped belay consists of four distinct steps for maximizing security with a mechanical belay device. For those who have been climbing for a long time, please note, this is slightly different from a 3-step system taught several decades ago.
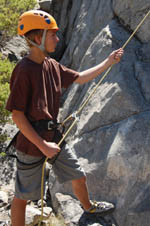
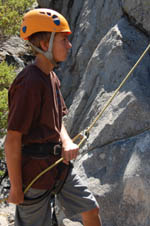
Good top rope, bottom-belaying begins with a solid stance, well braced against the direction of pull, toward the top anchor. In some cases, anchoring the belayer may be recommended depending on factors that could overpower the belayer such as: weight difference between the climber and belayer, the steepness of the climb, the amount of friction of the rope running over rock or, the angle of climbing from side to side that might cause a climber to pendulum and increase the load.
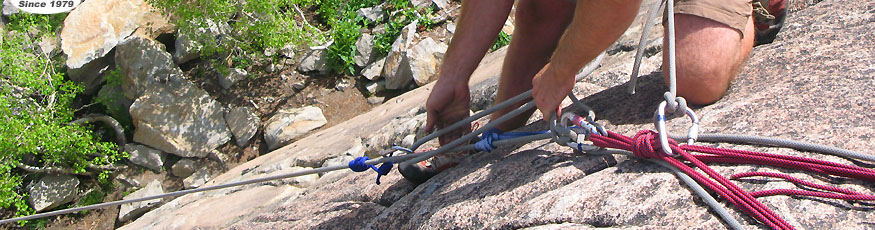
The 4-Step belaying method dramatically reduces the time the belay rope is not in the locked position against the belay device. Here are the four steps:
Step 1:
Use both hands, one pulling, the other pushing, to move the slack rope through the belay device.
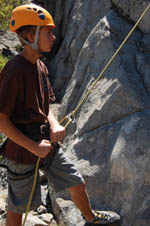
Step 2:
Quickly redirect the brake strand against the belay device to lock it off.
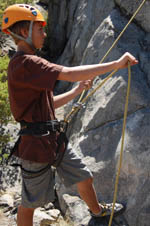
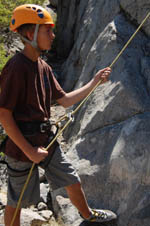
Step 3:
Use your hand from the climber strand and grab the brake strand just below the belay device, keeping it locked off.
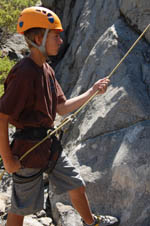
Step 4:
Slide your brake hand up the brake strand and move your upper hand back to the climber strand.
Now you're ready to cycle through the four steps again as needed in relation to the speed and progress of the climber.
This is the most secure method of top-rope, bottom-belaying with a traditional belay device.

Caution: It is recommended to practice these techniques under the coaching and supervision of a qualified instructor. ASI makes no guarantees regarding the use of techniques illustrated or recommended on this website with regard to insuring personal safety or preventing injury or death.
|